Not only is DevOps one of the hottest topics, but Mobile DevOps is where we are all heading. For a complete Mobile DevOps solution, you need to be able to target all three platforms in an automated fashion. Visual Studio Team Services with the addition of HockeyApp, Xamarin, and Xamarin Test Cloud is a complete Mobile DevOps solution.
Visual Studio Team Services can be used for any language targeting any platform. When you develop for iOS, you are required to use a Mac. Visual Studio Team Services' build agent can be installed on a Mac to enable Continuous Integration for iOS builds as well. The purpose of this post is to detail exactly what you have to do to configure your Mac to work with Visual Studio and Visual Studio Team Services. I am new to the world of OS X so I will go into great detail for others like me that find navigating OS X awkward at best.
When we are done, we will be able to connect to this Mac from Visual Studio during our daily mobile development and also have it execute our Continuous Integration builds from Visual Studio Team Services. If you prefer not to actually have to touch the Mac, you can read how to control it from your PC here.
I will be starting with a virgin MacBook Pro with the following specs:
The first thing we are going to have to do is install Xcode.
- Press Command (⌘) - Space
- Type App Store
- Press Enter
- Type xcode in Search
- Press Enter
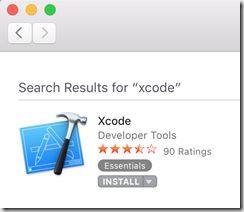
- Click Get
Or click Install if you have already installed before using your Apple ID.
This install may take a while. While it is installing, we are going to enable Remote Login so Visual Studio can connect to this Mac and use it for building iOS applications.
- Press Command (⌘) - Space to open Spotlight Search
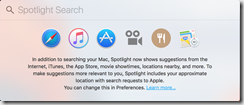
- Type Remote
- Press Enter
- Check Remote Login
- Select System Preferences / Quit System Preferences
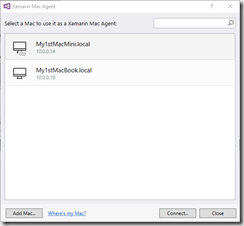
Now Visual Studio will be able to find this Mac on your network.
Before performing the next steps, I would wait for Xcode to completely install. You will know when the installation is complete when the installing button reads Open.
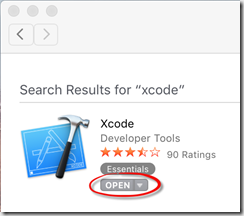
Once the installation is complete, open Xcode so we can accept the license.
- Press Command (⌘) - Space
- Type xcode
- Press Enter
- Click Agree
- Enter your Password
- Click OK
- Select Xcode / Quit Xcode
I ran into some issues when I tried to download certain files using Safari so we are going to install Chrome.
- Press Command (⌘) - Space
- Type Safari
- Press Enter
- Visit http://Chrome.com
- Click Download now
- Click Downloads icon in the dock
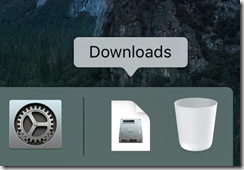
- Click googlechrome.dmg
- Drag Google Chrome icon to the Applications folder
- Close the Google Chrome installer window
Now we can install Xamarin Studio and the Visual Studio Team Services build agent.
- Press Command (⌘) - Space
- Type Chrome
- Press Enter
- Click Open
- Visit https://www.xamarin.com/download
- Complete form
- Click Download Xamarin Studio for OS X
- Click Downloads icon in the dock
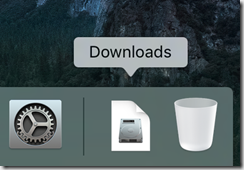
- Click XamarinInstaller.dmg
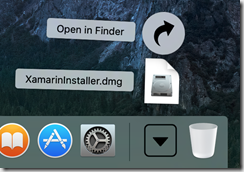
- Double-click button

- Click Open

- Check I accept the terms of the License Agreement
- Click Continue
- Check all that apply (Xamarin.iOS is only requirement)
- Click Continue
- Verify installation location
- Click Continue
- Review prerequisites
- Click Continue
- Check Accept licenses
- Click Continue
- Enter Password
- Click OK
You may have to enter your password several times during the installation. - Minimize browser the that opens
- Click Quit
The final preparation of our Mac will be installing the Visual Studio Team Services build agent. Before we install the agent, we need to make sure and install the latest version of OpenSSL which as of this writing is 1.0.2h. I found the easiest way to install OpenSSL is using Homebrew. Installing Homebrew is pretty simple.
- Press Command (⌘) - Space
- Type Terminal
- Press Enter
- Enter the following command:
/usr/bin/ruby -e "$(curl -fsSL https://raw.githubusercontent.com/Homebrew/install/master/install)"
- Press Enter
- Enter Password
- Press Enter
With Homebrew installed, we can now upgrade OpenSSL. In the terminal window we just used to install Homebrew, run the following commands:
-
brew update
-
brew install openssl
-
brew link --force openssl
- Select Terminal / Quit Terminal
- Press Command (⌘) - Space
- Type Terminal
- Press Enter
- Enter the following command:
openssl version
The results should be higher than or equal to 1.0.2h

With the latest version of OpenSSL installed, we can complete the final step and install the build agent. To complete the installation, we are going to need to create a Personal Access Token in Visual Studio Team Services.
- Press Command (⌘) - Space
- Type Chrome
- Press Enter
- Visit https://{YourAccount}.visualstudio.com
Log in if needed
- Click your name in the upper right-hand corner
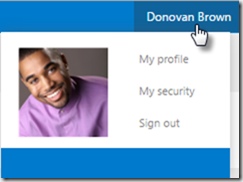
- Click My security
- Click Add
- Enter appropriate values
- Click Create Token
- Copy the token value and store it somewhere safe

Armed with our Personal Access Token, we can download the agent.
- Press Command (⌘) - Space
- Type Chrome
- Press Enter
- Visit https://github.com/Microsoft/vsts-agent
- Click the for OSX
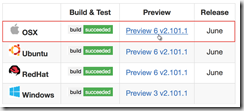
- Click link for the latest OSX build
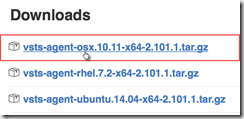
- Click Downloads icon in the dock
- Click vsts-agent-osx.10.11-x64-2.101.1.tar file
Your version may vary. The file will be extracted into your Downloads folder and the Downloads folder will open.
- Right-click the vsts-agent-osx.10.11-x64-2.101.1 folder
- Select Copy “vsts-agent-osx.10.11-x64-2.101.1”
- Click Documents under Favorites
- Right-click the background
- Select Paste Item
- Rename folder to A1
- Press Command (⌘) - Space
- Type Terminal
- Press Enter
- Enter the following command:
cd Documents/A1/
- Enter the following command:
./config.sh
- Enter Password
- Press Enter
- Enter Y
- Press Enter
- Enter the URL of your Visual Studio Team Services account in the following format:
https://{YourAccount}.visualstudio.com
- Press Enter to accept PAT as the authentication type
- Enter the Personal Access Token we created earlier
- Press Enter to accept default as the agent pool
- Enter a name for your agent or press Enter to accept the default name
- Press Enter to accept _work as the work folder
- Enter Y to run agent as a service
- Press Enter
You can verify the agent was successfully installed from your Visual Studio Team Services account.

In future posts, I will show you how to connect this Mac to Visual Studio and use it as your CI machine now that it is set up.